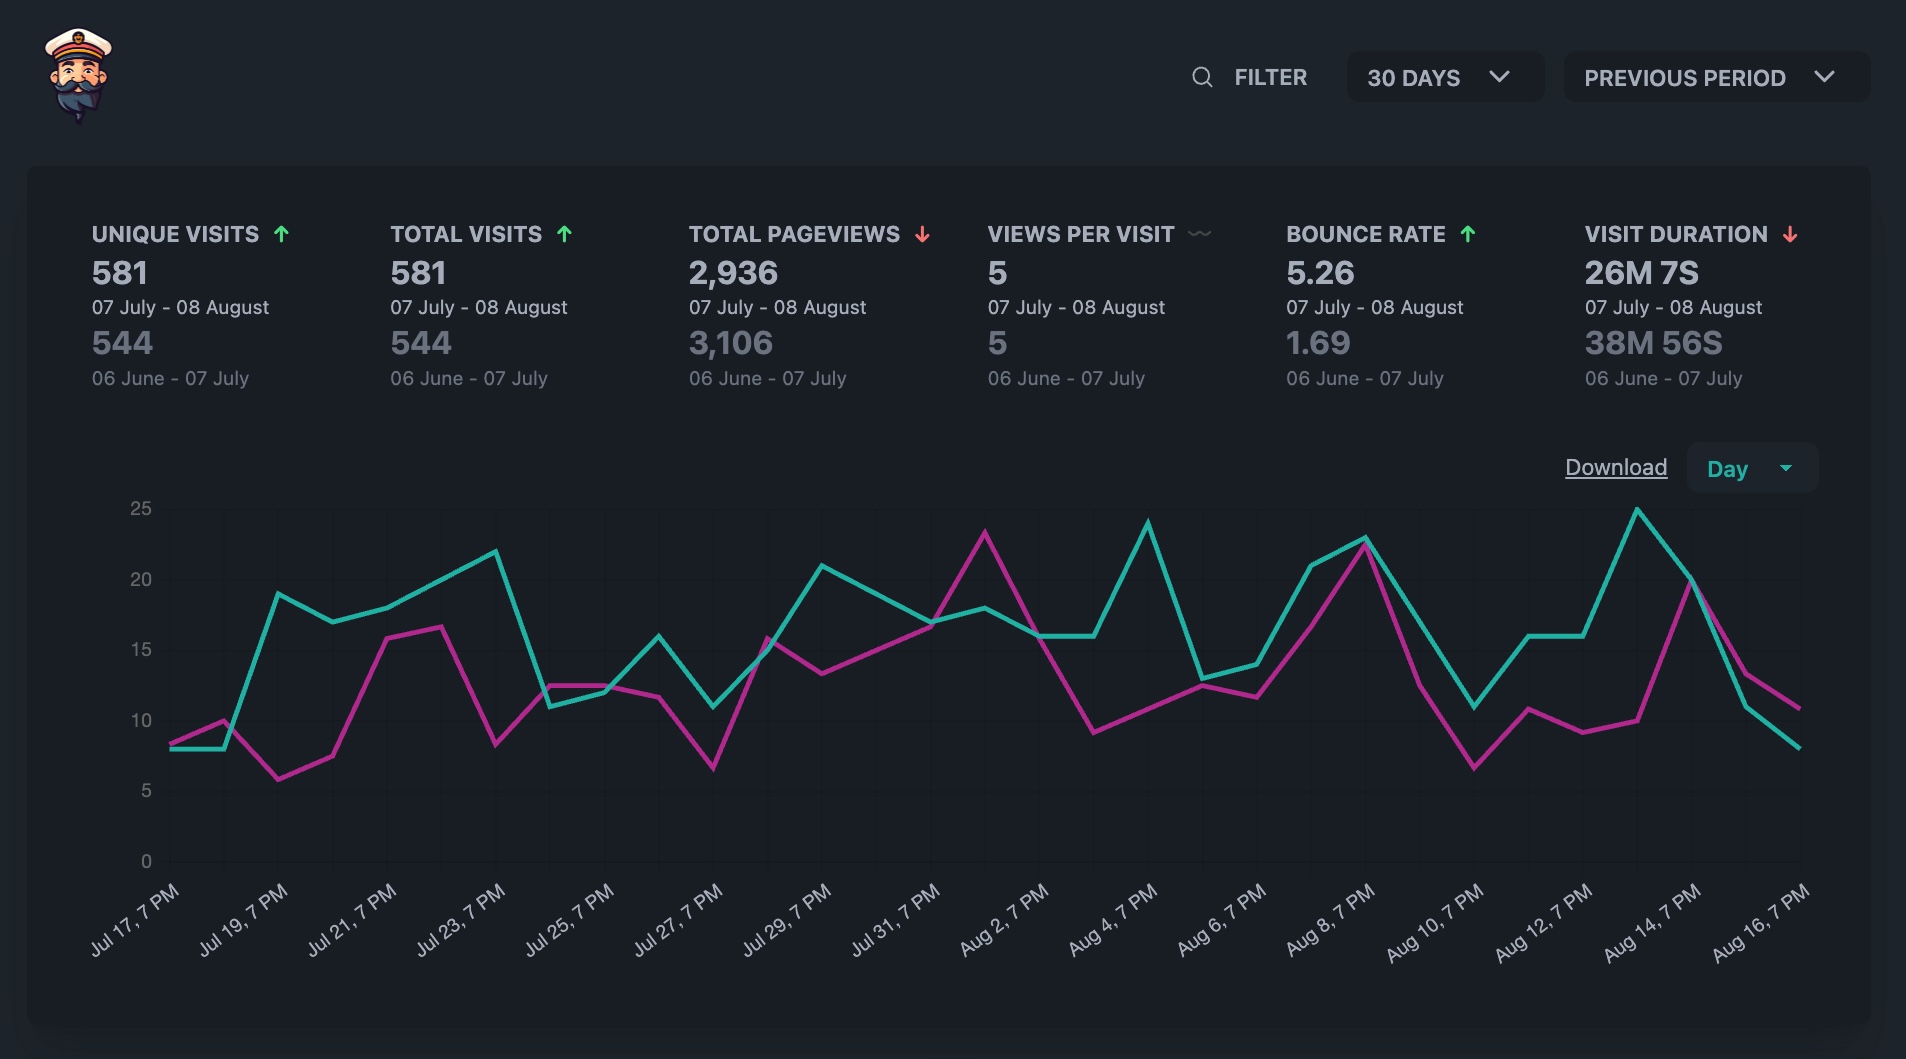
Self hosted analytics setups offer more control, accuracy and privacy compared to Google Analytics, allowing you to tailor tracking to your specific needs and maintain ownership of your data. Additionally they can help avoid issues with ad blockers that often block Google Analytics, in a world where 35.% of all browsers use adblocking software. Let's setup one of Rails' most popular open source analytics combo : Ahoy and AhoyCaptain.

Install Ahoy
bundle add ahoy_matey
rails g ahoy:install
rails db:migrate
Add Ahoy's tracking events to your controllers
By default, AhoyCaptain assumes you're tracking controller and action in your Ahoy::Event properties, and a page view event is named $view. We're gonna keep that and add the request url to the metrics, since it's what we want to identify the most visited pages.
class PostsController < ApplicationController
  after_action :track_page_view, only: :show

  private

    def track_page_view
    ahoy.track "$view", controller: controller_name, action: action_name, url: request.url
  end
end
class PagesController < ApplicationController
  after_action :track_page_view, only: :show

  private

    def track_page_view
    ahoy.track "$view", controller: controller_name, action: action_name, url: request.url
  end
end
In your Rails console, check that you start receiving values with:
Ahoy::Visit.last
Ahoy::Event.last
Install AhoyCaptain
bundle add ahoy_captain
rails g ahoy_captain:install
Attention: if you have a very recent version of Rails (>=7), importmaps may crash AhoyCaptain. Make sure you get the correct version in your gemfile.
Check that you don't have errors in your console or screen when reaching /ahoy_captain
In your Rails console, check that you start receiving values with:
AhoyCaptain.event.where(name: AhoyCaptain.config.event[:view_name]).count
AhoyCaptain.event.with_routes.count
Allow AhoyCaptain to read the URL column of your events
By default, your Top Pages widget should be empty or show "controller#action". Change that by going to config/initializers/ahoy_captain.rb:
AhoyCaptain.configure do |config|
  config.event.url_column = "ahoy_events.properties->>'url'"
end
Attention, the default documentation has a little error : config.event.url_column = "properties->>'url'"
Allow AhoyCaptain to work behind a CDN
If you proxy your site with a CDN like Cloudflare, the IP addresses Ahoy will track will be the ones of your CDN, we have to correct that.
In ahoy.rb, add this
class Ahoy::Store < Ahoy::DatabaseStore
  def track_visit(data)
    data[:ip] = request.env['HTTP_CF_CONNECTING_IP'] || request.remote_ip
    super(data)
  end
end
Replace HTTPCFCONNECTING_IP with the part of your headers that show the real visitor ip address.
Allow Ahoy to localise your sources
By default, geocoding is turned off in Ahoy, that's why the Map widget of AhoyCaptain is empty.
First, install the geocoder gem : bundle add geocoder
Then, in config/initializers/ahoy.rb add :
Ahoy.geocode = true
That's it, your visits are now tracked geographically and should appear in the Map widget.
The following section is only relevant for you if you want to decide how to execute the geocoding process:
1. As Background Job (default and recommended)
Normally, geocoding is performed in a background job so it doesn’t slow down web requests. The default job queue is :ahoy. Geocoding and background job queue are enabled in config/initializers/ahoy.rb:
Ahoy.geocode = true

Ahoy.job_queue = :default # Ahoy suggests `:low_priority`
Start background job processing library, if you are using sidekiq type in terminal:
$ sidekiq
2. Without Background Job (Not Recommended)
If you don't want to deal with this process in a job queue, ignore the previous step and simply add this code in the Ahoy::Visit model to set attributes yourself.
# app/models/ahoy/visit.rb

after_validation :update_geolocation_data

private

def update_geolocation_data
  location = Geocoder.search(ip).first

  return if location.blank?

  self.city = location.city
  self.region = location.region
  self.country = location.country
  self.latitude = location.latitude
  self.longitude = location.longitude
end
Ahoy recommends local geocoding, which improves privacy and performance but requires additional tooling.
Warning : if you debug the IP address in the development/test environment from the Ahoy object or simply with request.ip it will look like 127.0.0.1 or ::1 which is not a valid IP to detect a location. You would have to test it with Faker and geocode a valid IP, replacing the location in the code above :
location = Geocoder.search(Faker::Internet.ip_v4_address).first
Monkey patch the AhoyCaptain controller for authentication
By default, /ahoy_captain is publicly accessible. We don't want that.
Let's create an authentication patch in lib/patches/ahoy_captain.rb:
module Patches::AhoyCaptain
  if Rails.application.credentials.present?
    AhoyCaptain::ApplicationController.class_eval do
      http_basic_authenticate_with(
        name: Rails.application.credentials.login_username,
        password: Rails.application.credentials.login_password,
      )
    end
  end
end
Rails' master key will be used to decrypt Rails credentials. Rails' master key can be found in the config folder of your Rails app. If it's not there, you can generate one by running EDITOR='code --wait' rails credentials:edit (if you're using VSCode like me) and add the name and password values mentioned above.
Load it in your application.rb file :
config.after_initialize do
  require "patches/ahoy_captain"
end
Restart your server. Now when you try to access /ahoy_captain unauthenticated, you should be prompted for login_username and login_password.
You can change AhoyCaptain's path in your routes.
Make sure the patch works before deploying by locally eager loading your app: bin/rails zeitwerk:check
And voilà! You now have a comprehensive tracking tool with a nice visualization dashboard set for production!